Guide 53 · Tutorial
Muse Gadgets: Build Your Own Muse Hardware
Meta open-sourced the Muse gadget SDKs: flash an ESP32 board or turn a Raspberry Pi into a device Muse can talk to. The two build paths, pairing, and honest limits — straight from the official docs.
By Abhit T. · Updated October 6, 2026 · 11 min read
Short answer
Muse Gadgets is Meta's open-source hardware platform (Apache 2.0): an ESP32 firmware SDK and a Linux SDK that turn off-the-shelf boards into devices Muse talks to. You grab an SDK token, flash or install, then pair through the Muse app's Developer mode. This guide follows the official repo docs — it has not been hands-on tested with hardware.
The one-paragraph version
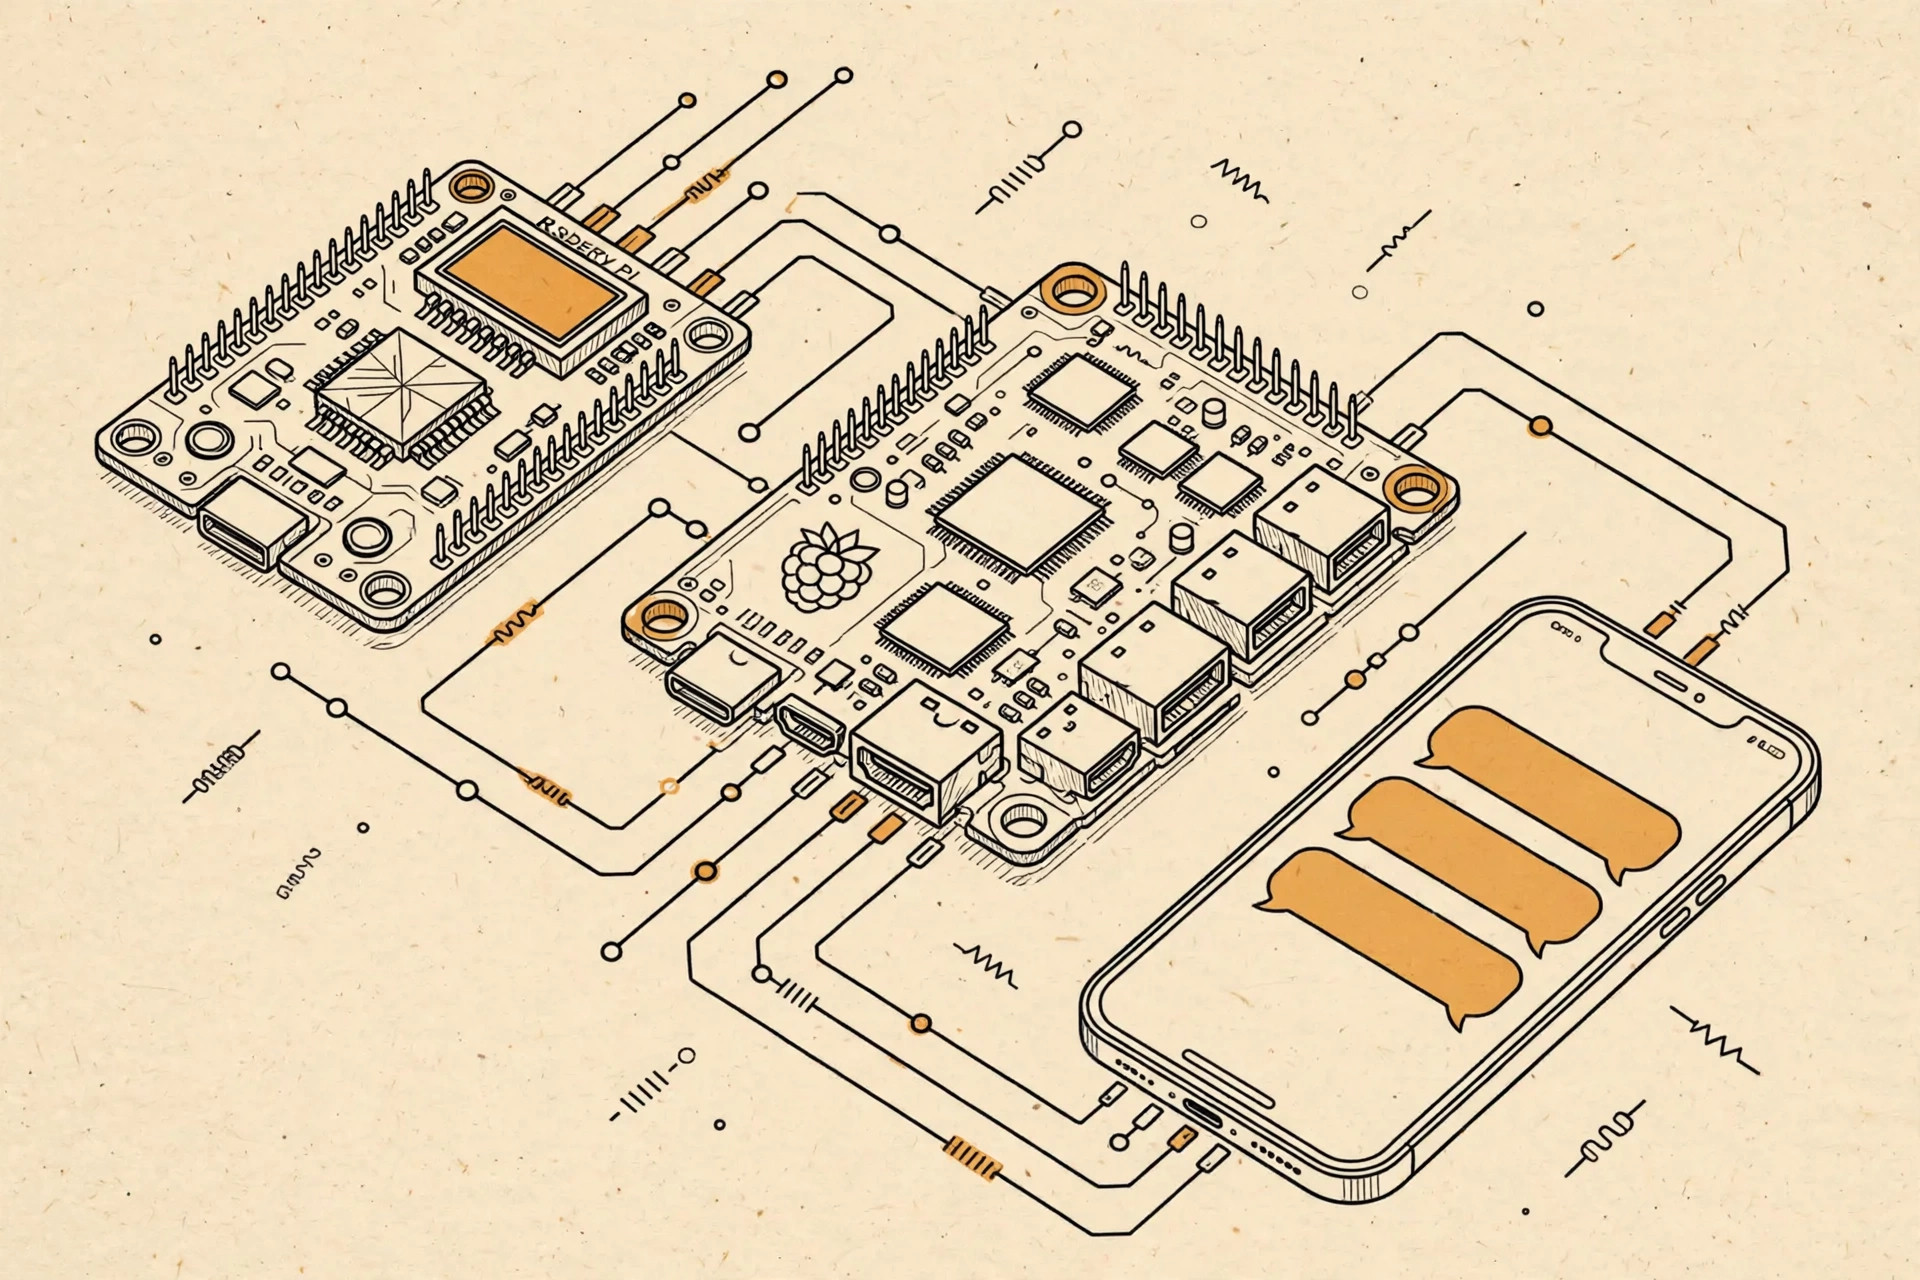
On October 2, 2026, Meta published facebookincubator/muse-gadget-sdk on GitHub under the Apache 2.0 license: everything needed to build your own Muse hardware. There are two SDKs. The ESP32 Device SDK is firmware you flash onto an off-the-shelf ESP32 board so Muse can reach it over your home Wi-Fi — add a display, a button, audio in and out, or sensors. The Linux Device SDK turns any Raspberry Pi or Linux box into a Muse gadget Muse can run commands on. Both pair with the Muse app on your phone, and both are, in Meta's own words, “built by hackers, for hackers, just for fun.”
One thing before the steps: this guide is written from the official repository documentation, not from a workbench. Nothing here has been verified with physical hardware, and the honest-limits section at the end matters more than usual — bricking boards and voided warranties are explicitly on the table.
The two build paths
Pick the path that matches the hardware you already own:
- ESP32 board — a physical gadget: status lights, buttons, small displays, push-to-talk, e-ink screens. Best if you want a Tamagotchi-style device on your desk. Needs a USB data cable and a Mac or Linux computer to flash from.
- Raspberry Pi / Linux box — a headless helper: Muse runs shell commands, reads and writes files, and reports system health on the machine. Best if you want Muse doing sysadmin chores or driving your Home Assistant setup. Needs Bluetooth LE and a sudo account.
Before you touch hardware: the SDK token
Every gadget needs an SDK token to pair — including ones you build for yourself. Get one at gadgets.muse.ai (Account > SDK tokens) and read the Gadget SDK Terms before you use it. No token, no pairing; this is the step people skip and then get stuck on.
Path A: flash an ESP32 board
The quickest start is the ESP32-C5 DevKitC-1, which works as-is with its built-in status light and BOOT button. Beyond that you need a USB cable that carries data (not just power), a computer running macOS or Linux, your SDK token, and the Muse app on your phone.
The fastest build route is Muse Code, Meta's coding agent. Clone the repo, start Muse Code in the `esp32` directory with `muse --disable-sandbox` (the flag lets it reach your board's USB serial port and fetch the ESP-IDF toolchain — you still approve each command), and ask it to build the firmware for your board and flash it. The repo's `AGENTS.md` carries everything the agent needs: toolchain setup, per-board builds, flashing, and reading serial logs. Any coding agent that reads `AGENTS.md` works, not just Muse Code.
Boards already supported range from bare status-light devkits (ESP32-C5, ESP32-C6, ESP32-S3-DevKitC-1) to display boards: the Waveshare ESP32-S3-Touch-AMOLED-1.75C runs the full on-screen UI with animated avatar, push-to-talk, and settings; Seeed's reTerminal e-paper boards do black-and-white or six-colour images; and the Home Assistant Voice Preview Edition gives you an LED ring, push-to-talk, and a volume dial. Check the feature table in the repo's `devices/` folder — audio and image support vary by board.
Path B: turn a Raspberry Pi into a Muse gadget
You need a Raspberry Pi with Bluetooth (3B+, 4, 5, or Zero 2 W work; other Linux computers with Bluetooth LE do too), running Raspberry Pi OS Bullseye or later, Debian 11+, or Ubuntu 22.04+ — 32-bit and 64-bit both fine — plus an account with sudo, your SDK token, and the Muse app.
On the machine, as the account Muse should use, the README's install flow is: download the installer, read it first (`less install.sh` — the docs say this explicitly, and you should), then run `bash install.sh --sdk-token mgst_…`. The installer checks your system, installs into `/opt/musegadget`, and starts the `musegadget` service. Before handing Muse your account it asks first and tells you whether that account can use sudo — because Muse will inherit exactly that account's permissions. Then it opens Bluetooth pairing.
Once paired, Muse gets four commands on the machine: `system.run` (shell commands with output and exit code), `file.read` / `file.write` (64 KB at a time), and `device.health` (uptime, load, memory, disk, temperature). The README's own examples: “What's using all the disk space on my Pi?”, “Install Home Assistant on my Pi and tell me how to open it,” and “Every morning at 7, check if my Pi's backups ran and tell me if they didn't.”
Pairing with the Muse app
Both paths converge here. In the Muse app: turn on Settings > Devices > Developer mode, then add a device (Settings > Devices > Add Device, the + icon). Your gadget shows up as `MuseGadgetXXXXXX` with the name the installer or firmware printed. Muse warns that this is a community device — continue if it's yours. On the Linux path, when asked for Wi-Fi, pick the network shown; the machine is already online, so no password is needed. Pairing stays open for 10 minutes; to re-pair later, run `sudo musegadget pair` on the machine.
Honest limits
Not hands-on tested. Every step above comes from the official docs; treat the README as the source of truth if anything here drifts, and the repo's Discord (linked in the README) is where builders compare notes.
You can break things. Meta's warning is blunt: flashing custom firmware can brick boards and void warranties — “side effects of tinkering may include bricked boards, voided warranties, brownouts, or bankruptcies.”
Permissions are real. On the Linux path, Muse runs commands as your install account — if that account has sudo, so does Muse. Install as a limited account if you want a leash on it.
Pairing isn't verified. Community devices carry no manufacturer verification, and the docs state pairing can't prevent an active man-in-the-middle attack. Set gadgets up on a network you trust.
And the fine print that matters: this is an independent guide to Meta's open-source project. SDK terms apply to your token, and Meta's own reference device — the Muse Home Link USB-C dongle, 5,000 of which went free to subscribers at launch — is a separate product from anything you build yourself.
Keep exploring
- Muse Gadgets news — our dated, sourced coverage of the launch and the Home Link giveaway.
- What Muse AI is — the agent your gadget will be talking to.
- Muse AI referral codes — working codes if you're still setting up your account.